Electronics Production
To start this assignment i needed all materials to build the FabICP. At the beginning o f the assignmente we had only one mill for doing our electronic card. Is really difficult to work only with one mill and dont broke it in the process.
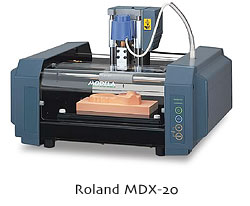
Here in Lima the official provider for the Roland Machine sells each mill for 70 dollars, that means a lot of money for a practice and a pressure to keep safe the Milling cutter! But actually the mill is just for a thin layer of cooper, we could use another kind of milling cutter, for example the Milling cutter that is used for a dentist.
The problem was the diameter of the shaft, our Roland machine has a shaft of 3.18mm, we could not find Mills of this diameter in Lima. I found a provider with Milling cutters with a shaft of 2.27mm but it costs arround 2 dollars. I though it would be great if i can addapt this kind of mill to the roland machine.
After thinking for a while we decided to use Skotch tape to grow the diameter of the new shafts. We test it and it works, we could use the Milling cutters that costs 2 dollars with this provitional adaptation.
We found a cheaper way to mill our electronic production, in the future i think we could adapt with a lathe a piece to use this kind of Mills in the Roland Machine
.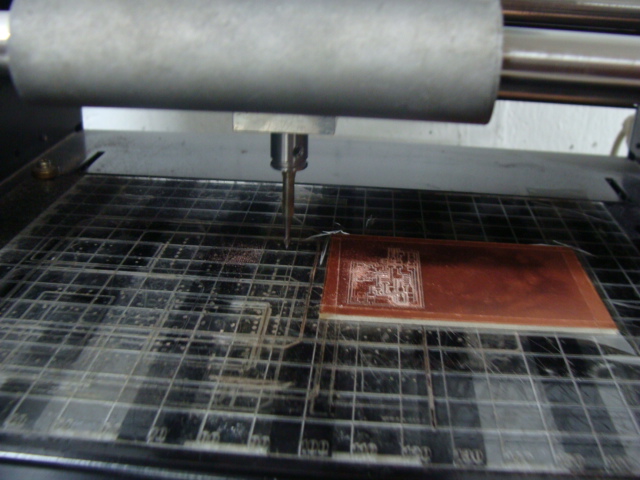
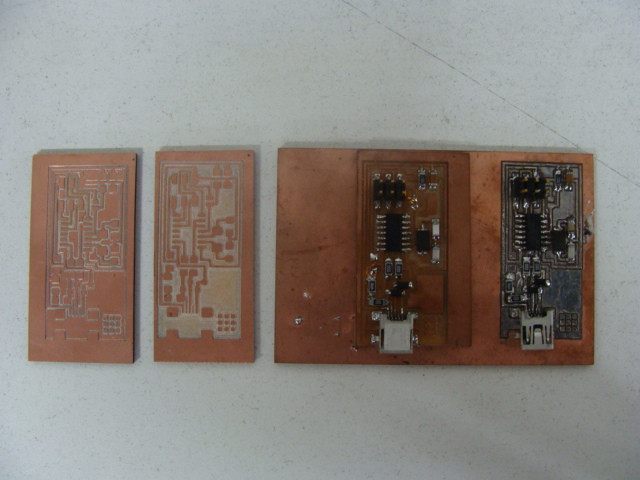
I found two ways to work this electronic card, i show in this photo the first one, milling just the lines that takes arround 5 minutes and the second, removing all the cooper that should not be there, that takes more time but looks much better.
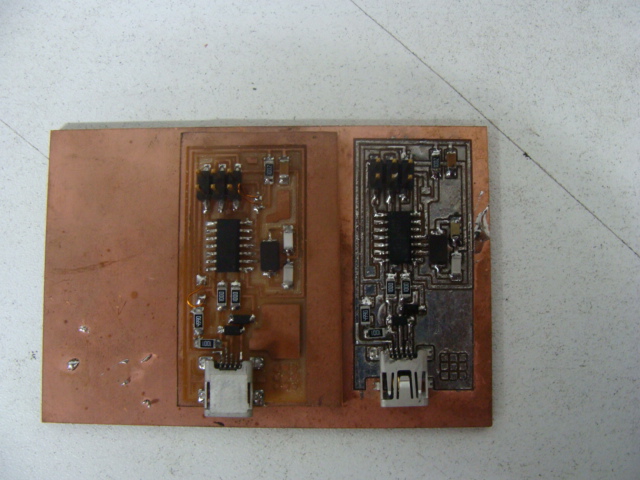
After this experience the next step was to weld the electronic card, first i tryed ,as my instructor told me, to fill the whole plane with the tin. So i learned how to do it it was a disaster but the i knew how to work in a correct way, i show my experience in this photo.
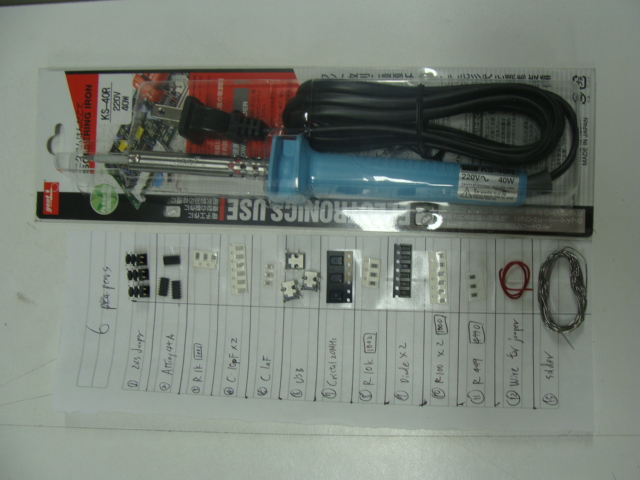
This is how i organized the electronics components before i weld it.